
Looking to turn your website into an installable app for both PCs and mobile devices? Look no further! If the concept of making your website a Progressive Web App (PWA) is new to you, don't worry – we've got you covered.
Assuming you've already created your website, the next step is to transform it into a PWA. This article will guide you through the process, addressing common questions like "Can a website become a PWA?" and "How do I go about making my own PWA?"
In my journey to learn web development, I often found myself searching for ways to convert a website into a PWA. However, I struggled to find a comprehensive guide that truly helped me grasp the process. In this article, I'll share my experience using a real example – a website I had previously created – and demonstrate how I made it installable on both PCs and mobile devices using the PWA Builder tool.
Let's dive in:
Method 1: Using the VS Code Extension [Guaranteed Results]
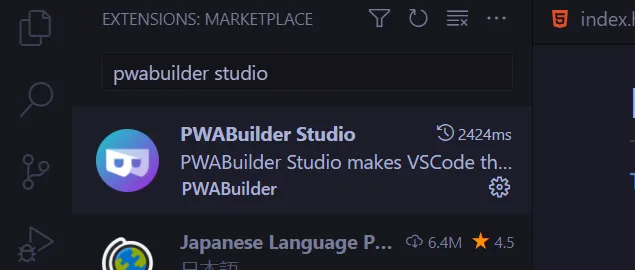
Install the Extension: First things first, if you haven't already, get the "PWA Builder" extension for Visual Studio Code. You can find it on the VS Code Marketplace.
Open Your Project: Launch your website project in Visual Studio Code.

Access the PWA Builder Extension: Find the PWA Builder extension either in the sidebar of VS Code or through the command palette.
Configure PWA Settings: Utilize the extension to customize your PWA settings. This involves choosing icons, colors, defining details in the manifest file, and configuring the service worker settings.
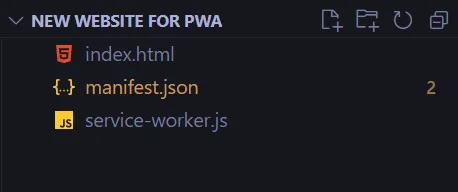
Generate PWA Files: Once your settings are configured, use the extension to generate the necessary files for your PWA.
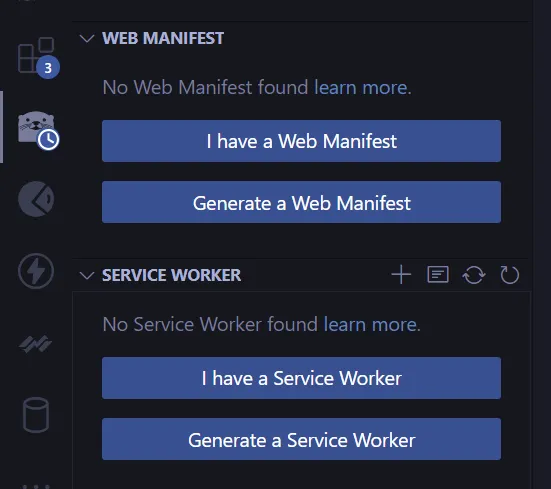
5(i) Generate a Web Manifest: Click the button to generate a web manifest.
5(ii) 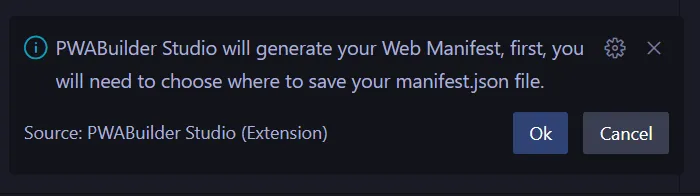
5(iii) 
5(iv) Generate a Service Worker: Similarly, click the button to generate a service worker. Follow the same process as above.
Now you'll have the essential files ready.
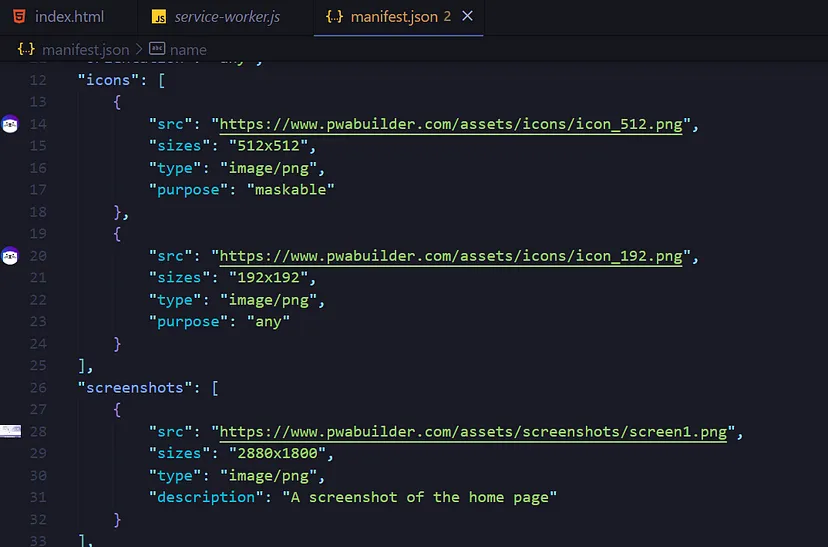
Don't forget to replace the default icon and screenshot with your actual PWA's assets. Adjust the 'src' attribute to point to your image path.
Deploy Files: After generating the files, the next step is to deploy them to your web server. Make sure all the generated files are uploaded and organized in the correct directories.
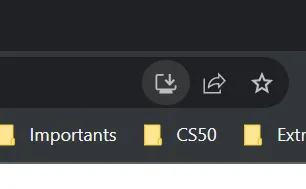
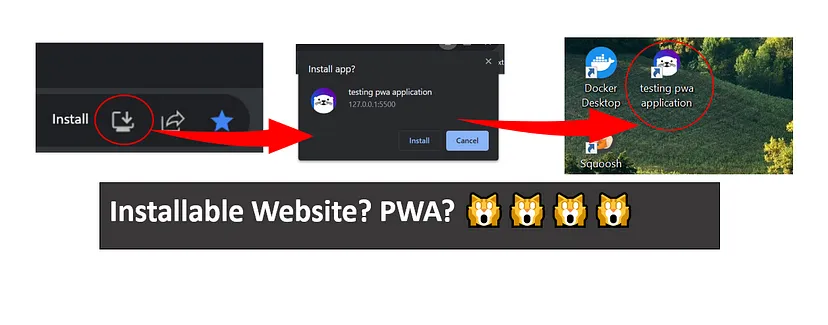
Once everything is set up, you'll notice an "Install" button. Click it to preview how your PWA will appear.
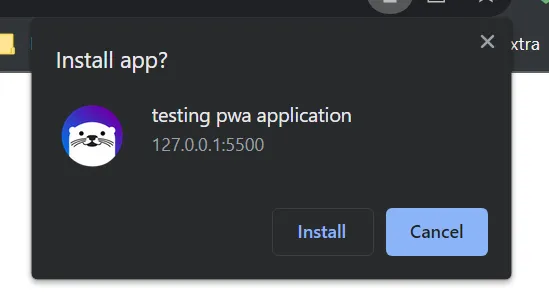
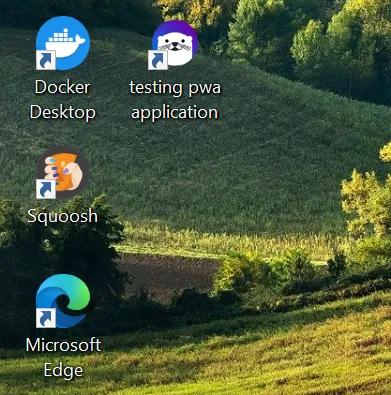
Voilà! You now have an installed PWA application that's ready to roll.
Here's a glimpse of the installed application on a desktop.
And there you have it – your very own PWA is now a reality! If you have any questions or need further clarification, feel free to leave a comment below. We're here to help you on your PWA journey.
Tags
How do I create a basic PWA?
How to make a PWA with JavaScript?
How do I host PWA?
pwa tutorial w3schools
Is PWA builder free?
How do I make my own PWA?
Can I turn my website into a PWA?
Pwa builder online github
Pwa builder online free
Pwa builder online download
Pwa builder online apk
pwa builder no-code
pwa builder ios
pwa generator
pwa icon generator
Post a Comment